


| US | AUS/UK | JAPAN | EU | MM |
|---|---|---|---|---|
| 2 | D | 2 | 41 | 41 |
| 3 | F | 4 | 44 | 44 |
| 3 1/4 | F 1/2 | 4 1/2 | 45 | 45 |
| 3 3/4 | G 1/2 | 6 | 46 | 46 |
| 4 | H | 7 | 47 | 47 |
| 4 1/2 | I | 8 | 48 | 48 |
| 4 3/4 | I 1/2 | 9 | 49 | 49 |
| 5 1/4 | J 1/2 | 10 | 50 | 50 |
| 5 1/2 | K | 11 | 51 | 51 |
| 6 | L | 12 | 52 | 52 |
| 6 1/2 | M | 13 | 53 | 53 |
| 6 3/4 | M 1/2 | 14 | 54 | 54 |
| 7 1/4 | N 1/2 | 15 | 55 | 55 |
| 7 1/2 | O | 16 | 56 | 56 |
| 8 | P | 17 | 57 | 57 |
| 8 1/4 | P 1/2 | 18 | 58 | 58 |
| 8 3/4 | Q 1/2 | 19 | 59 | 59 |
| 9 | R | 20 | 60 | 60 |
| 9 1/2 | S | 21 | 61 | 61 |
| 9 3/4 | S 1/2 | 22 | 62 | 62 |
| 10 1/4 | T 1/2 | 23 | 63 | 63 |
| 10 1/2 | U | 24 | 64 | 64 |
| 11 | V | 25 | 65 | 65 |
| 11 1/4 | V 1/2 | 26 | 66 | 66 |
| 11 3/4 | W 1/2 | 27 | 67 | 67 |
| 12 | X | 28 | 68 | 68 |
| 12 1/2 | Y | 29 | 69 | 69 |
| 13 | Z | 30 | 70 | 70 |
| 13 1/4 | Z 1/2 | 31 | 71 | 71 |
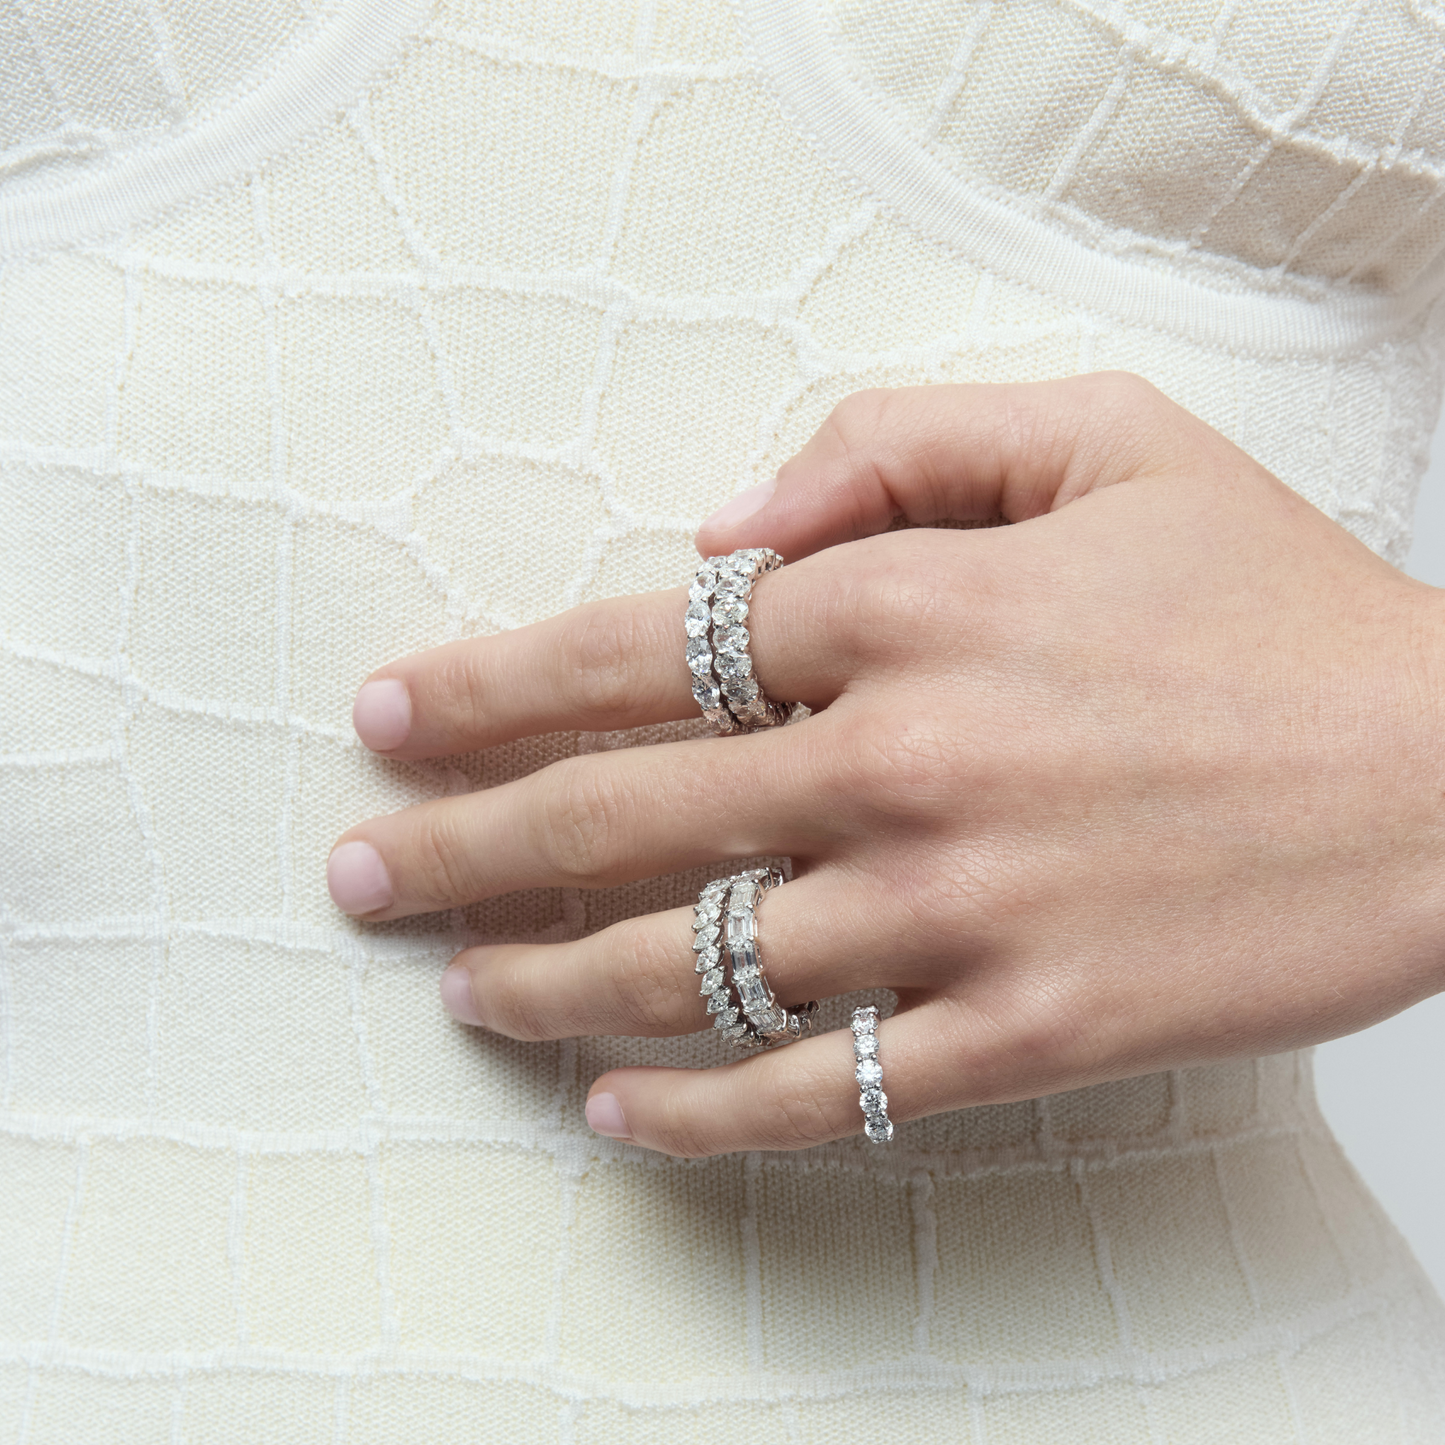
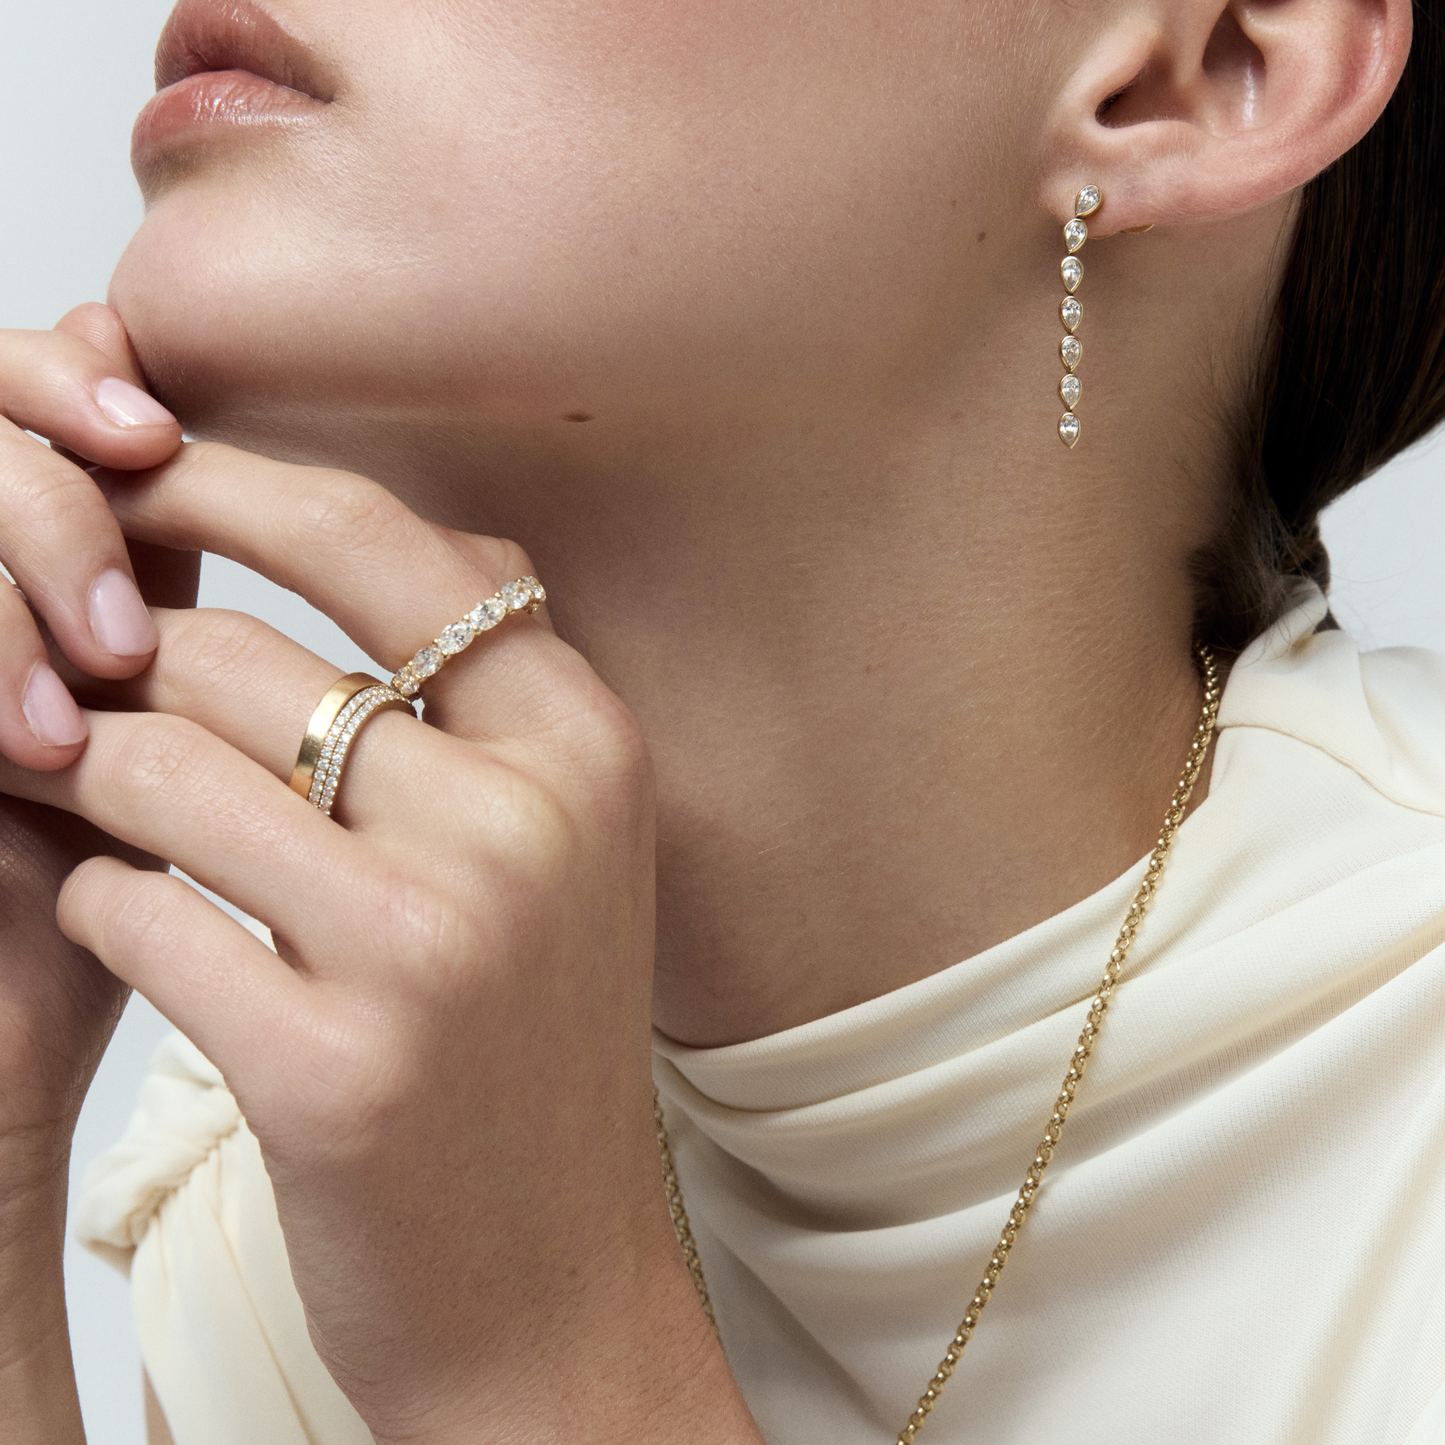
Oval Diamond Lunar Bypass Ring
Regular price
$19,025.00
Metal Colour
18K White Gold
Ring Size
2
Made to order. See lead times below.
In Stock

Free Express Worldwide Shipping

Concierge Service

Finest Materials & Craftsmanship
Striking in form and balance, the Oval Diamond Lunar Bypass Ring features 3.00 carats of oval-cut diamonds, elegantly wrapped around the finger in a fluid, open design. Each diamond is meticulously set in 18K yellow gold, creating a play of symmetry and movement that feels both modern and timeless. Sculptural yet wearable, this piece embodies Alder’s signature approach to everyday luxury — bold, feminine, and endlessly refined.
Jewelry Settings

Details
Material:
18K White Gold
Stone
Size:
3.0 ct
Colour:
G
Clarity:
SI1
Ring Size Guide
As each Alder creation is individually handcrafted to order, please allow 2-5 weeks from purchase to delivery. An Alder expert will guide you through your post-purchase journey until your order arrives.
Complimentary free delivery is offered to all customers. All orders are tracked and insured for security and peace of mind. You will receive your tracking information via email once the order has been prepared.
If you need your item sooner, please get in contact with our team contact@alderfinejewellery.com.au and we can assist you further.
You may also like...
Regular price
$19,025.00
Metal Colour
18K White Gold
Ring Size
2
Striking in form and balance, the Oval Diamond Lunar Bypass Ring features 3.00 carats of oval-cut diamonds, elegantly wrapped around the finger in a fluid, open design. Each diamond is meticulously set in 18K yellow gold, creating a play of symmetry and movement that feels both modern and timeless. Sculptural yet wearable, this piece embodies Alder’s signature approach to everyday luxury — bold, feminine, and endlessly refined.
As each Alder creation is individually handcrafted to order, please allow 2-5 weeks from purchase to delivery. An Alder expert will guide you through your post-purchase journey until your order arrives.
Complimentary free delivery is offered to all customers. All orders are tracked and insured for security and peace of mind. You will receive your tracking information via email once the order has been prepared.
If you need your item sooner, please get in contact with our team contact@alderfinejewellery.com.au and we can assist you further.